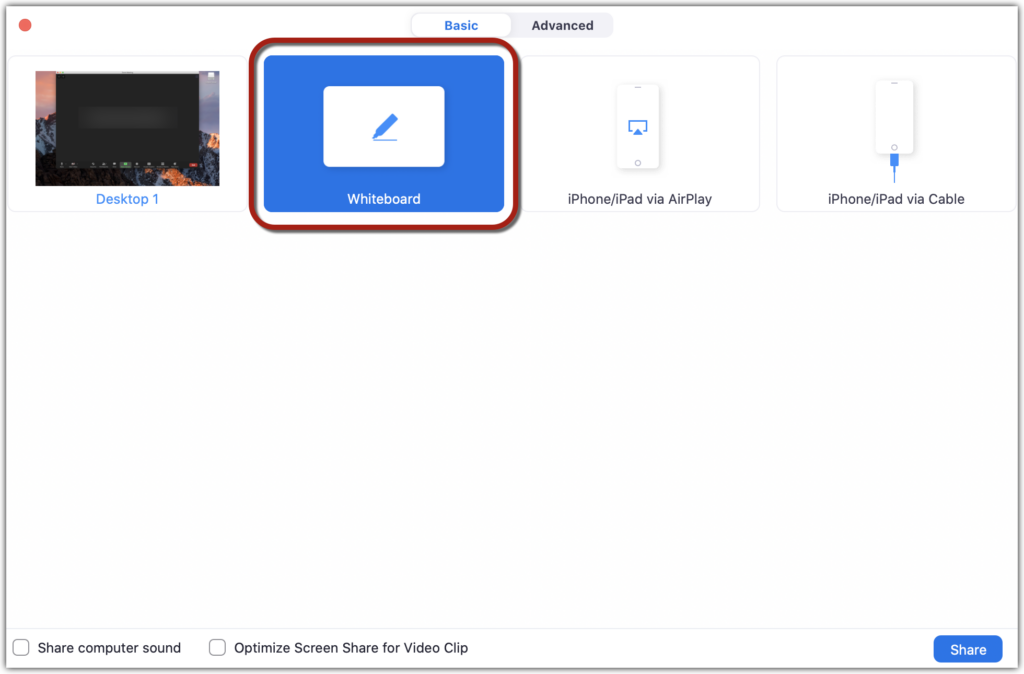
You can share your computer screen with participants of your Zoom meeting, so that they can see what you see on your computer. This allows you to look at a program or document together, and to share PowerPoint slides with your class as you lecture via Zoom. In addition, you can add annotations over the content you are sharing, using Zoom’s annotation tool. You can also annotate on a blank canvas using the Zoom whiteboard tool.
This page will cover:
- Sharing your screen
- Letting participants share their screen
- Annotating over your shared screen
- Zoom whiteboard
Share Your Screen
To share your screen, click the “Share Screen” [1] button in the bottom menu bar of your Zoom window, then select what you want to share [2], and hit “Share” [3].
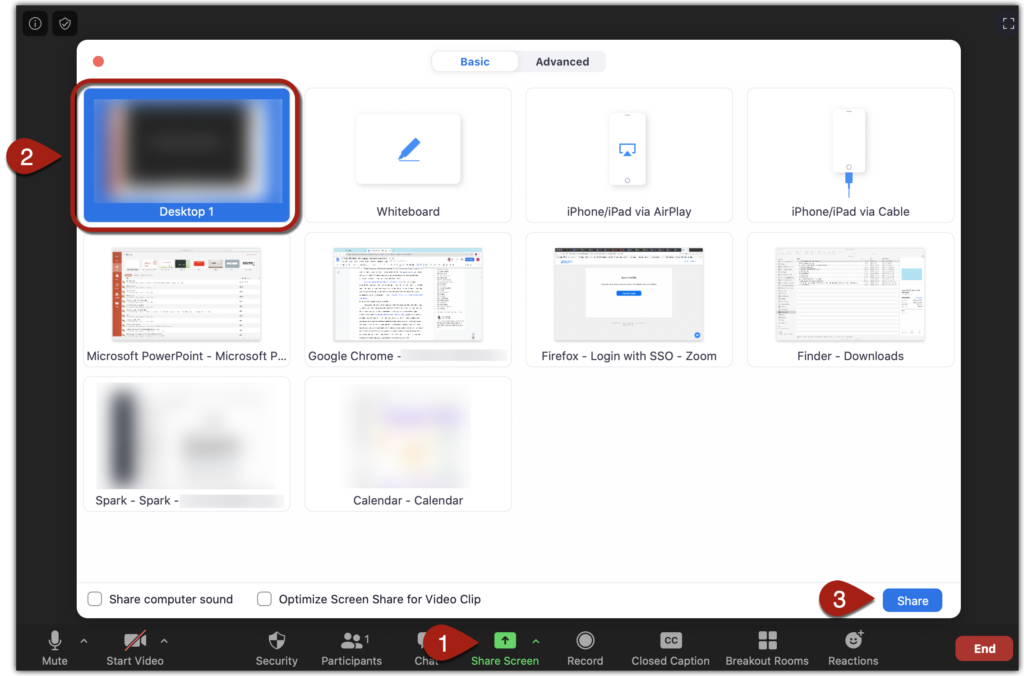
When selecting what you want to share, you can either select the first option–Desktop–which shares your entire computer screen with participants (whatever you are seeing, they will see), or you can share specific applications with your participants such as your PowerPoint application. Only applications that are open on your computer will be able to be shared.
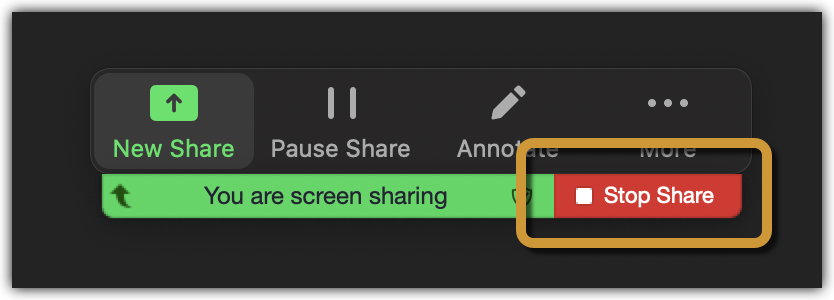
Once you begin sharing your screen, a green frame will appear around the application you have selected to share, or the entire screen if you chose to share your Desktop.
You can end the screen sharing by clicking “Stop Share”–this will bring you back to your regular Zoom view.

To learn more about using “Share Screen” on mobile devices, visit Zoom’s iOS Screen Sharing guide, or for Android devices visit the Sharing your screen page, scroll to the bottom, and select “Android.”
Letting participants share their screen
By default, only the host of the Zoom session can share their screen. If you want your participants to be able to share their screen, you can change the sharing settings in the meeting.
Hit the small green ^ button in the “Share Screen” button [1], and then select “Advanced Sharing Options…” [2].
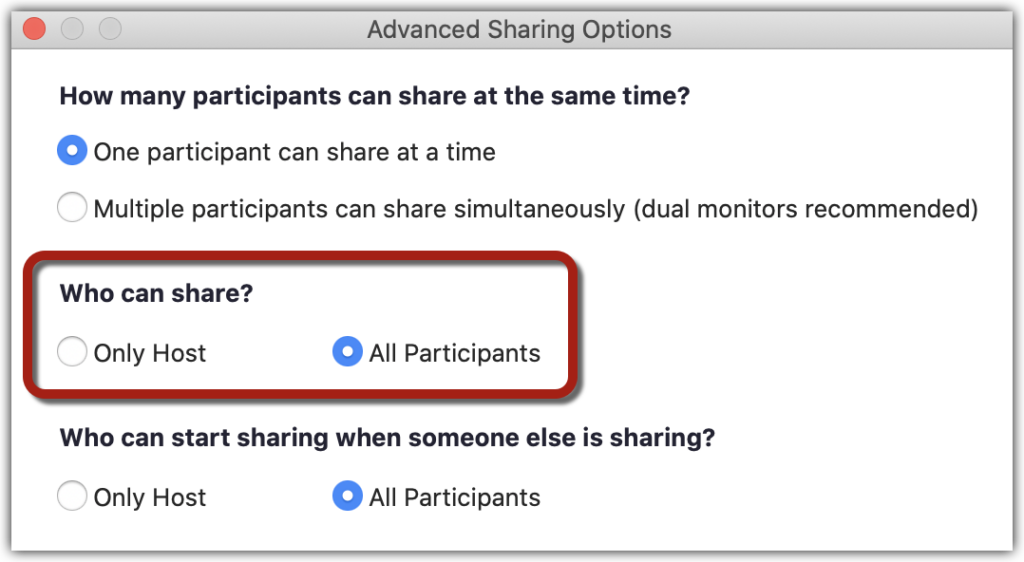
Select “All Participants” under “Who can share?” instead of “Only Host.”
If you only want to let one of your participants share their screen, for example, a panelist or guest speaker, you could make them a co-host. See instructions on Zoom’s Enabling and adding a co-host page for more information.
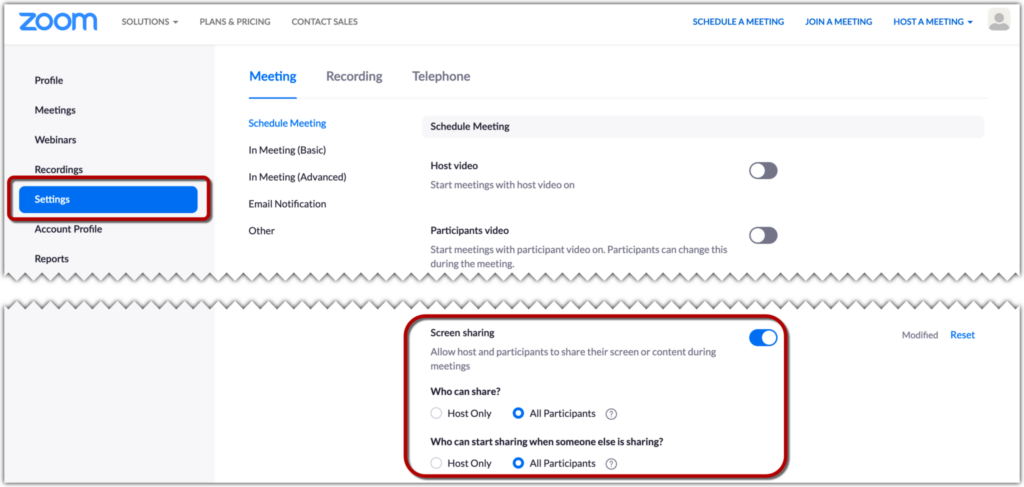
You can also change the screen sharing settings for your account so that participants can share their screen in all of your Zoom meetings. Go to your account settings on zoom.us and look for the “Screen Sharing” settings.
Annotating over your shared screen
Zoom allows you to add annotations when you are sharing your screen. Click the “Annotate” pencil icon on your screen sharing toolbar to bring up a set of annotation tools. Tools include a text tool to type text onto the screen, a hand-drawing tool, a stamp tool, and a spotlight tool for highlighting the location of your cursor.

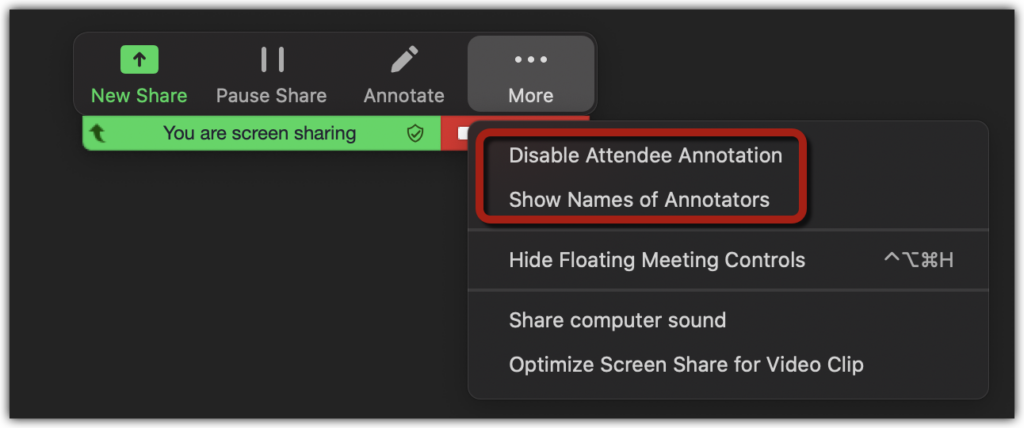
You can prevent participants from annotating by selecting “Disable Attendee Annotation,” and you can also add a label to show who is annotating where, by selecting “Show Names of Annotators.”
You can save your annotations to your computer at any point by pressing the “Save” button. The annotations will save as an image into your Zoom folder on your computer. The default location for your “Zoom” folder is:
- PC: C:\Users\User Name\Documents\Zoom
- Mac: /Users/User Name/Documents/Zoom

Zoom whiteboard
If you would like to have a blank canvas with your students on which to add annotations, start a screen share and select “Whiteboard.” You can use all the abovementioned annotation tools on the whiteboard, and can also save your whiteboards as images to your Zoom folder.
