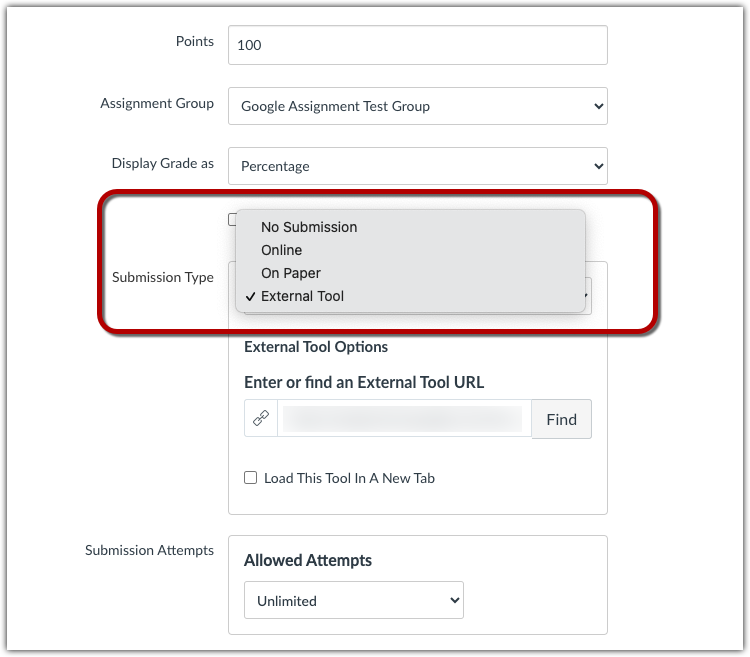
Creating a Google Assignment begins like creating a regular assignment. However, when deciding the submission type, select “External Tool”
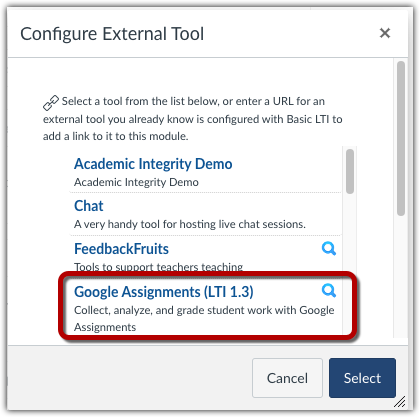
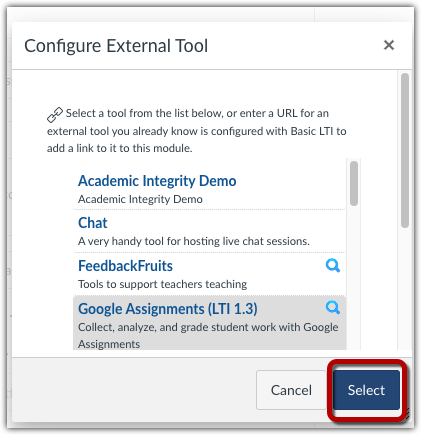
A “Configure External Tool” panel will appear asking you to select the external tool you wish to use, scroll down and select “Google Assignments (LTI 1.3)”
A panel will appear prompting you to “Create and share coursework” via Google. Make sure the Google account you are using is your BC account and click “Continue”.
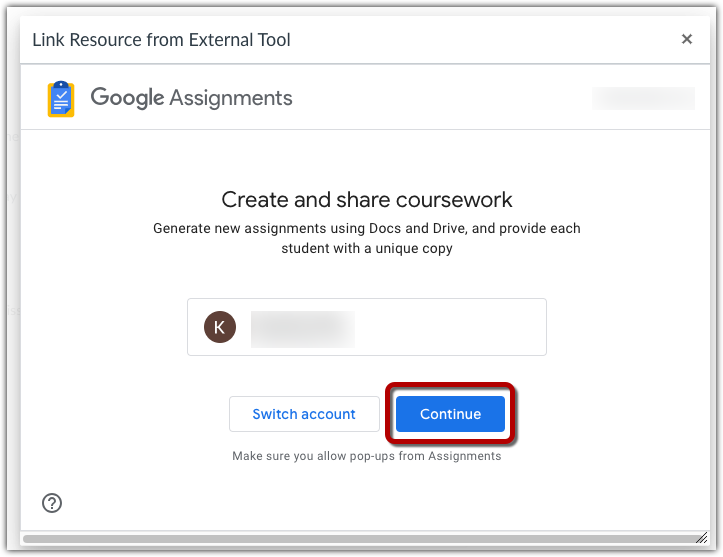
You may be asked to authorize your account to continue. Once again, make sure it is using your BC google account, then continue.
A new browser window will open, taking you to the “Create a Google Assignment” screen.

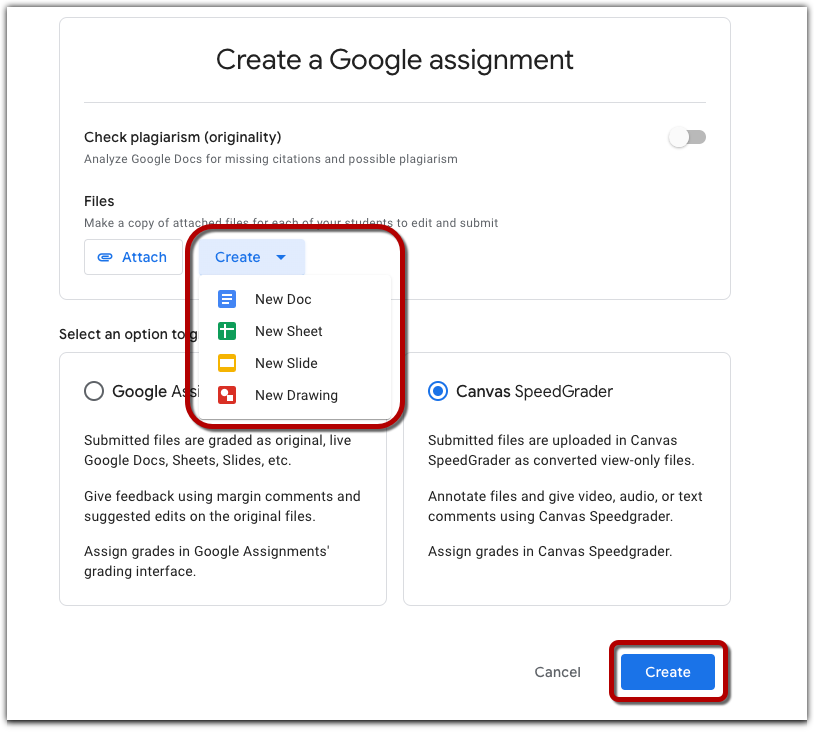
You have several different options when creating a Google Assignment, including:
- Turning on an originality checker which identifies missing citations and provides feedback to the student before the work is submitted and to the instructor afterward. Review Get Started with the Google Originality Checker to learn more [1].
- You can also attach a file, or create a file in one of several different Google support formats (Sheets, Documents, Slides, etc.) from scratch [2]. (More information below.)
- Choose your grading interface: Google Assignments [3] is the Google grading tool which uses the various feedback options that are native to the Google suite. These include the “comments” and “suggest edits” options you may have encountered on Google Documents before. Canvas SpeedGrader [4] is the grading tool native to Canvas. Review Compare Google Grader and SpeedGrader and Get Started with SpeedGrader to learn more.
Attach or Create a File
You also have the option to “Attach” an existing file to the assignment, or to “Create” a new one. This file can contain instructions, questions, prompts, or any other information you choose or deem necessary for the assignment. The file will be copied into each student’s individual Google Drive. This means that each student will have their own copy of the file they can view, edit, comment on, and work with for the assignment.
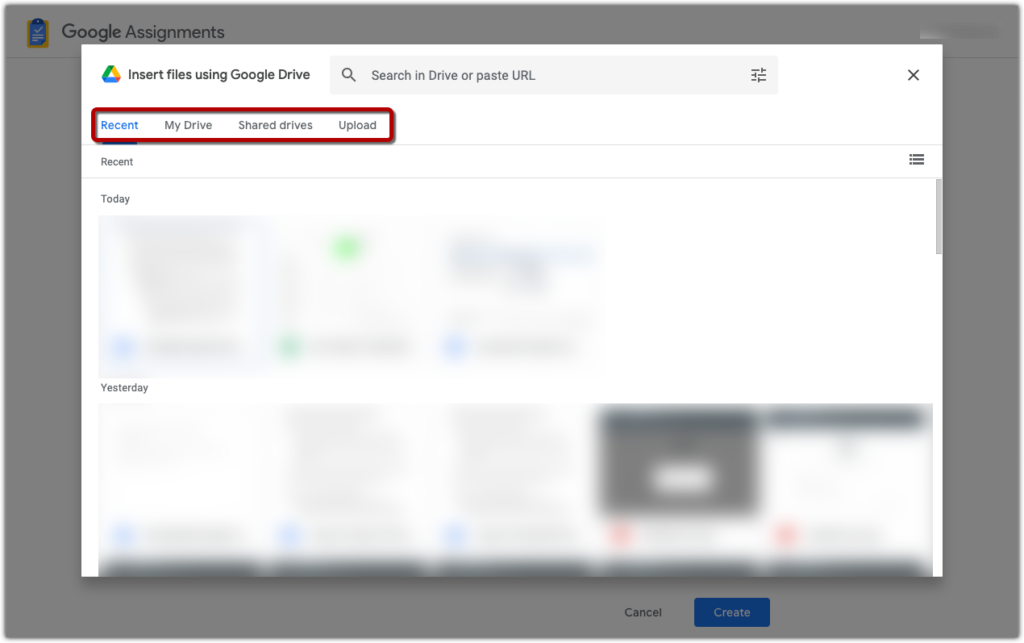
Choosing “Attach” will allow you to pick a file from your Google Drive or any Shared Drives you have access to, or to upload a file from your computer.
Choosing the “Create” option opens a drop menu that allows you to select a Google supported format (Documents, Sheets, and Slides). Once you’ve selected your file type, a blank document will be generated and automatically attached to the assignment. Clicking on the file name (“untitled” is the default name) will automatically open the file in a new tab where you may edit and rename it.
Finalizing the Assignment
Once you finish selecting your settings for the assignment, click the “Create” button.
This will return you to the Canvas window with the “Configure External Tool” panel open. Click on the “Select” button to confirm the Google Assignment as your chosen External Tool.
At this point, you may continue to select from the standard Canvas assignment options–Due Date, Points, attempt, etc.
When you’re finished setting up the assignment either click “Save” to save the assignment, or “Save & Publish” to save the assignment and make it available and viewable to your class.
You can share the Google Assignments Guide for Students with you class as a way of orienting them to their use of the tool.