Adding quizzes to a recording is a great way to bolster material retention as well as promote student engagement. Panopto allows you to add quiz questions in at any point of the video, as well as to videos already published. In playback, the video will halt until the quiz questions are completed.
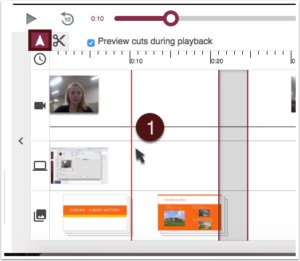
- Using the “pointer,” select the location on the timeline where you want to add a quiz. The red cursor indicates where the quiz will be added.
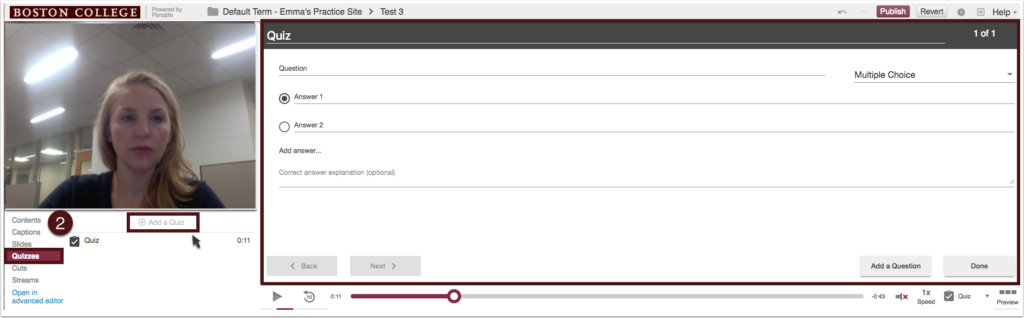
- In the editor menu, click “Quizzes” and then “add a quiz button.” The quiz form will appear in the secondary screen view.
- You can also begin a new quiz by clicking on the clipboard icon under the table of contents.
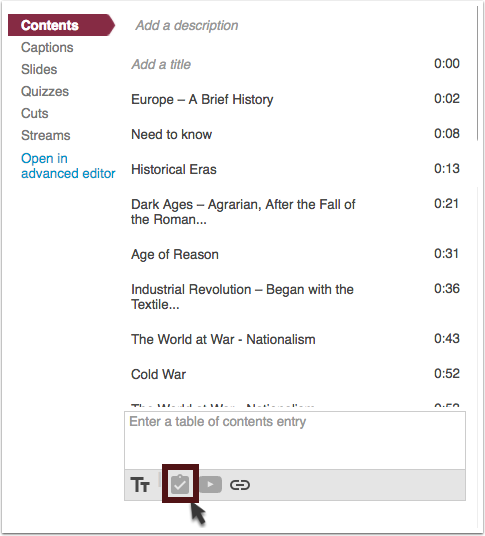
- You can also begin a new quiz by clicking on the clipboard icon under the table of contents.
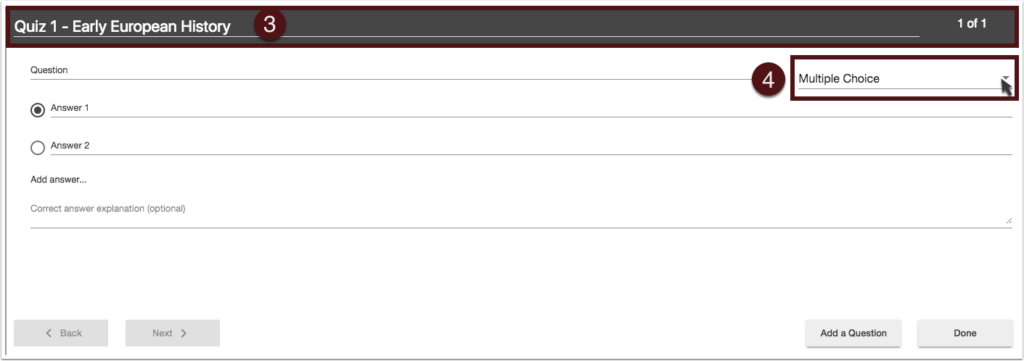
- You can change the quiz name by clicking into and editing the gray “Quiz” field.
- Within the form, click on the drop-down menu and choose what type of quiz to administer (True/False, Multiple Choice (default), Multiple Select).
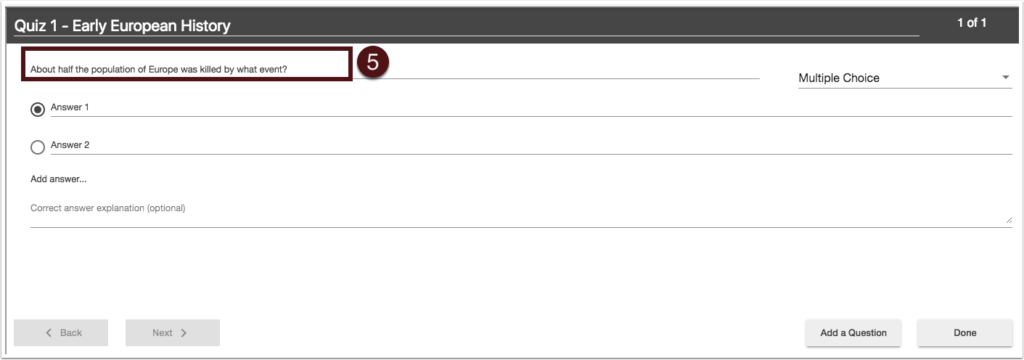
- Click into the “Question” field to input your question.
- Enter possible answer selections, and click the “O” next to the correct answer(s).
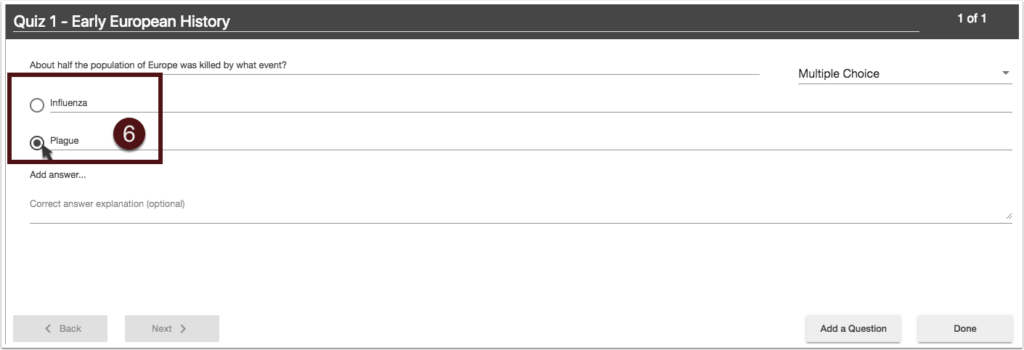
- You can add additional possible answers by clicking “Add answer.”
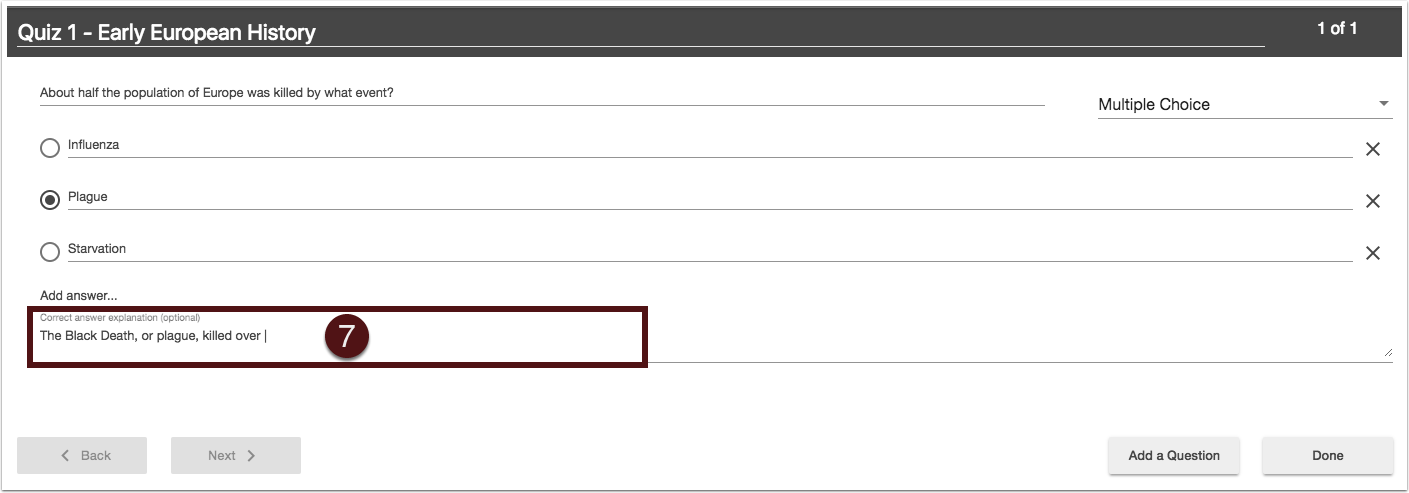
- To remove an answer, click on the X icon to the right of the answer choice.
- You may choose to include a correct answer summary by clicking into the field and entering text.
- To add another question, click “Add a Question” below the primary input screen. You can use the “Back” and “Next” button to move between questions.
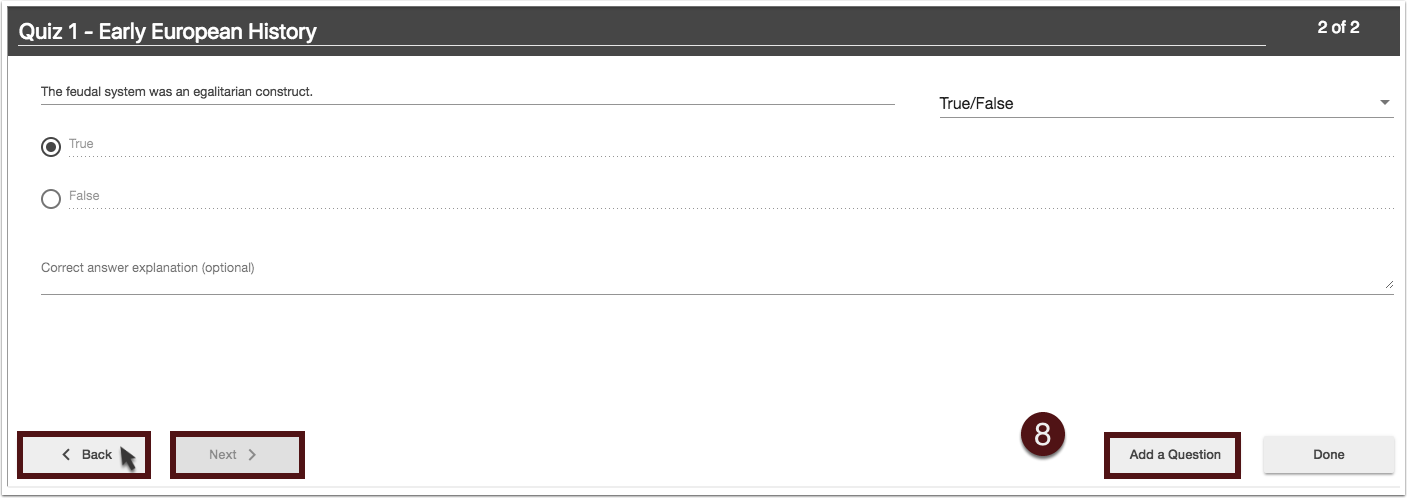
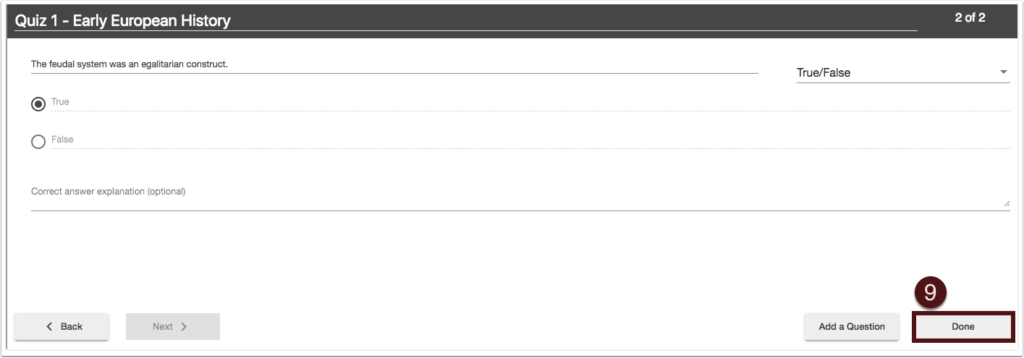
- To complete the quiz, click “Done.”
- The options page will now appear, allowing you to:
- Allow Retakes
- Show grade once the quiz is taken (If this is enabled you can also allow review of correct answers and explanations)
- Block your viewers from advancing the video until answers the quiz
- Delete questions by clicking the Xs
- Reorganize the questions by using the arrows
When you have made your selections, click “Finish.” It is a good idea to periodically re-publish your video as you edit, to update and ensure saved changes. Repeat these steps for each quiz you want to add to your session.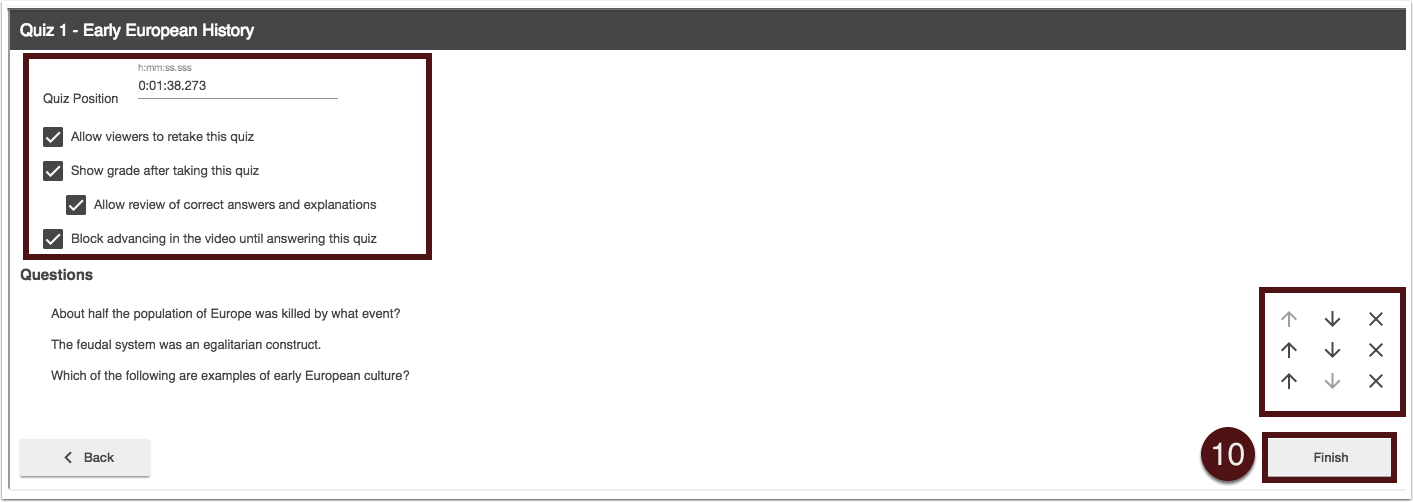
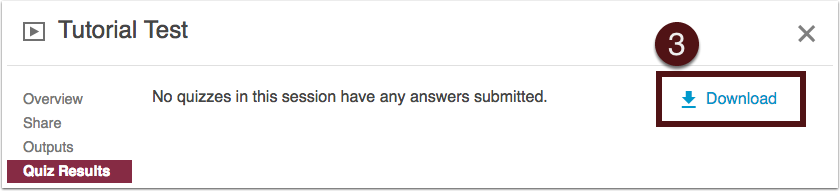
Retrieving Quiz Results
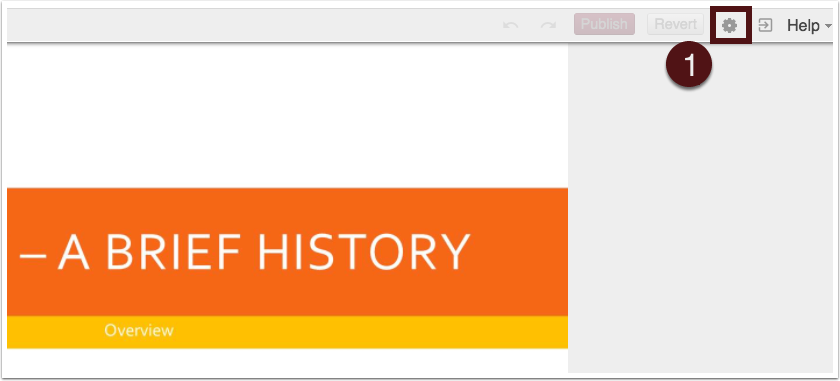
- From the session menu options, select “Settings.”
- Select “Quizzing Results” from the menu on the left side of the window.
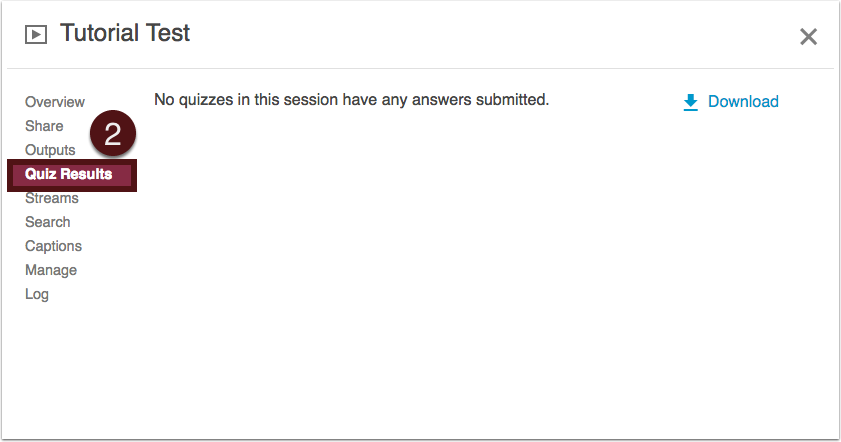
- To download a .csv file of the results, click the blue “Download” button in the upper right corner of the page. [Please note: Panopto quizzes do not at this time integrate with the Canvas grade book.]