Begin by navigating to your Panopto folder in Canvas:
1. Click into the “Panopto Recordings” tab.
2. In the upper-right corner of the screen, click the arrow to open Panopto.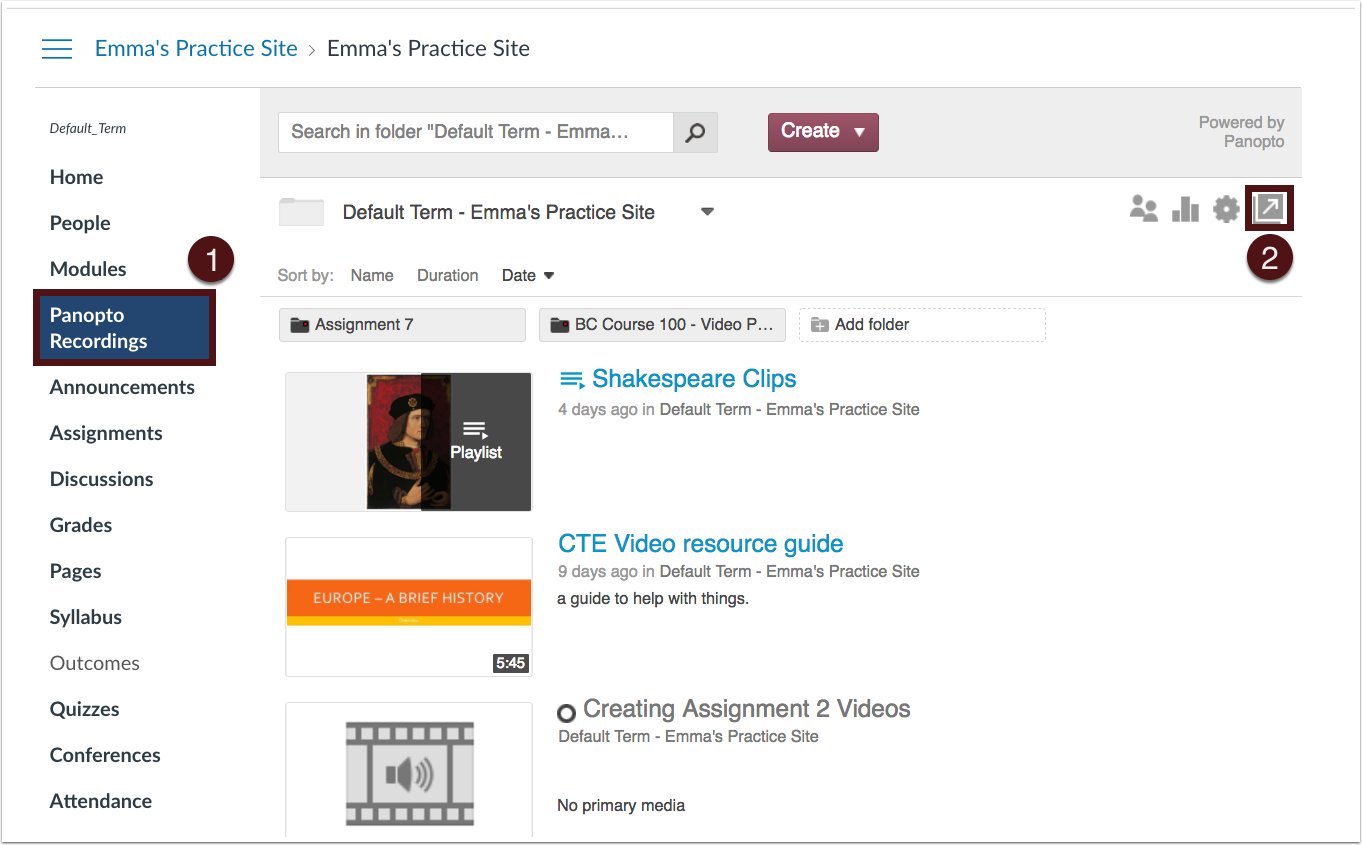

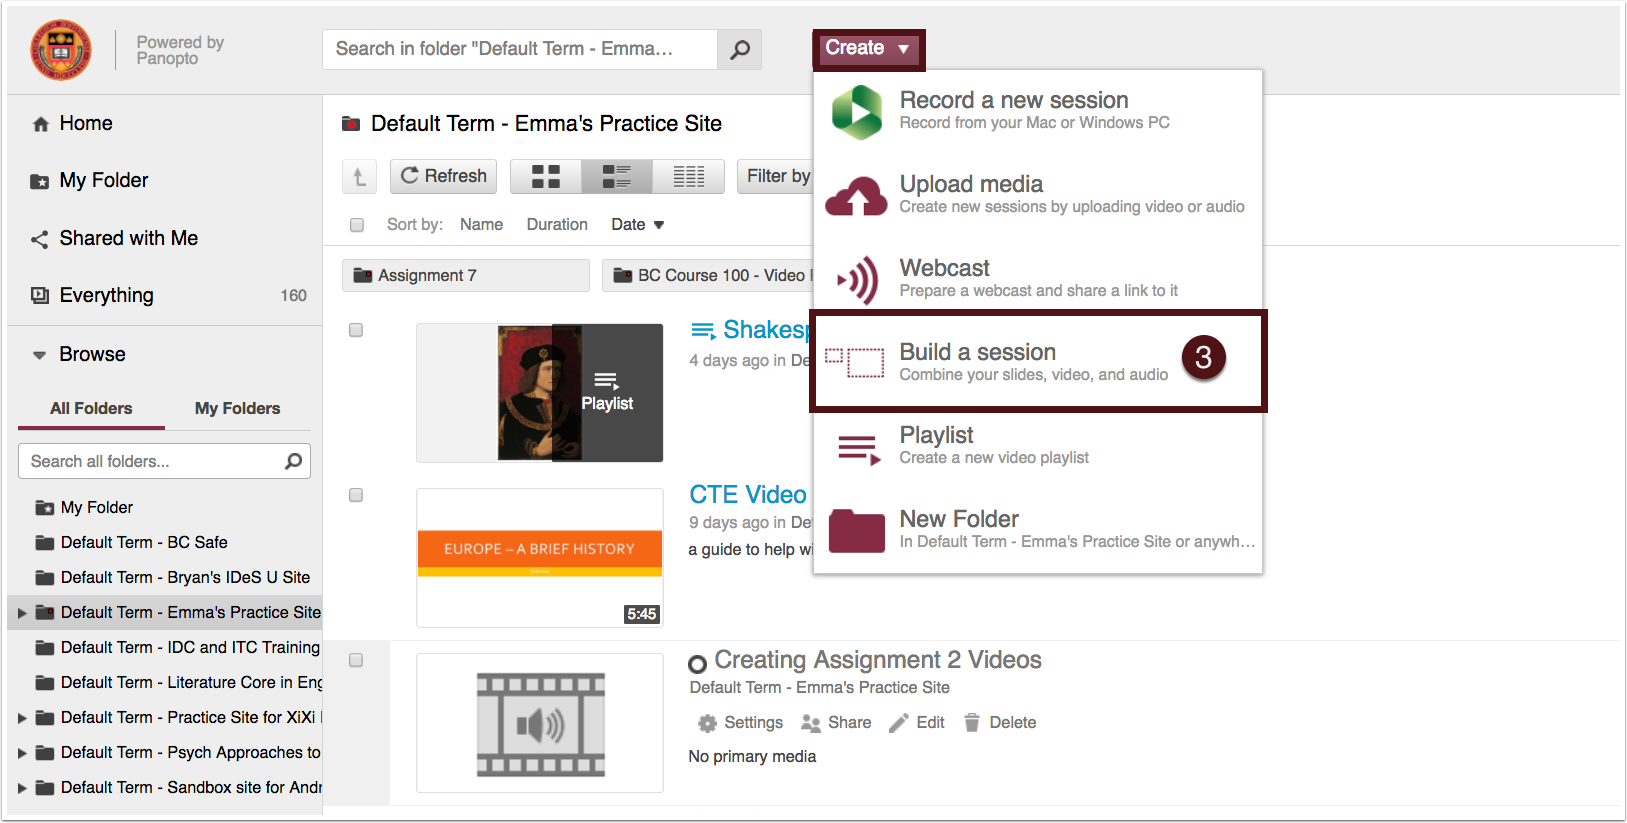
3. After clicking the “Create” button, choose “Build a Session” from the drop-down menu.
4. In the Build a Session form, name your session, and confirm which Panopto folder you would like the session saved in.
- You are also able to include a brief description of the recording, for easy reference and identification.


5. Click “Create and Edit” to continue to the session editor.

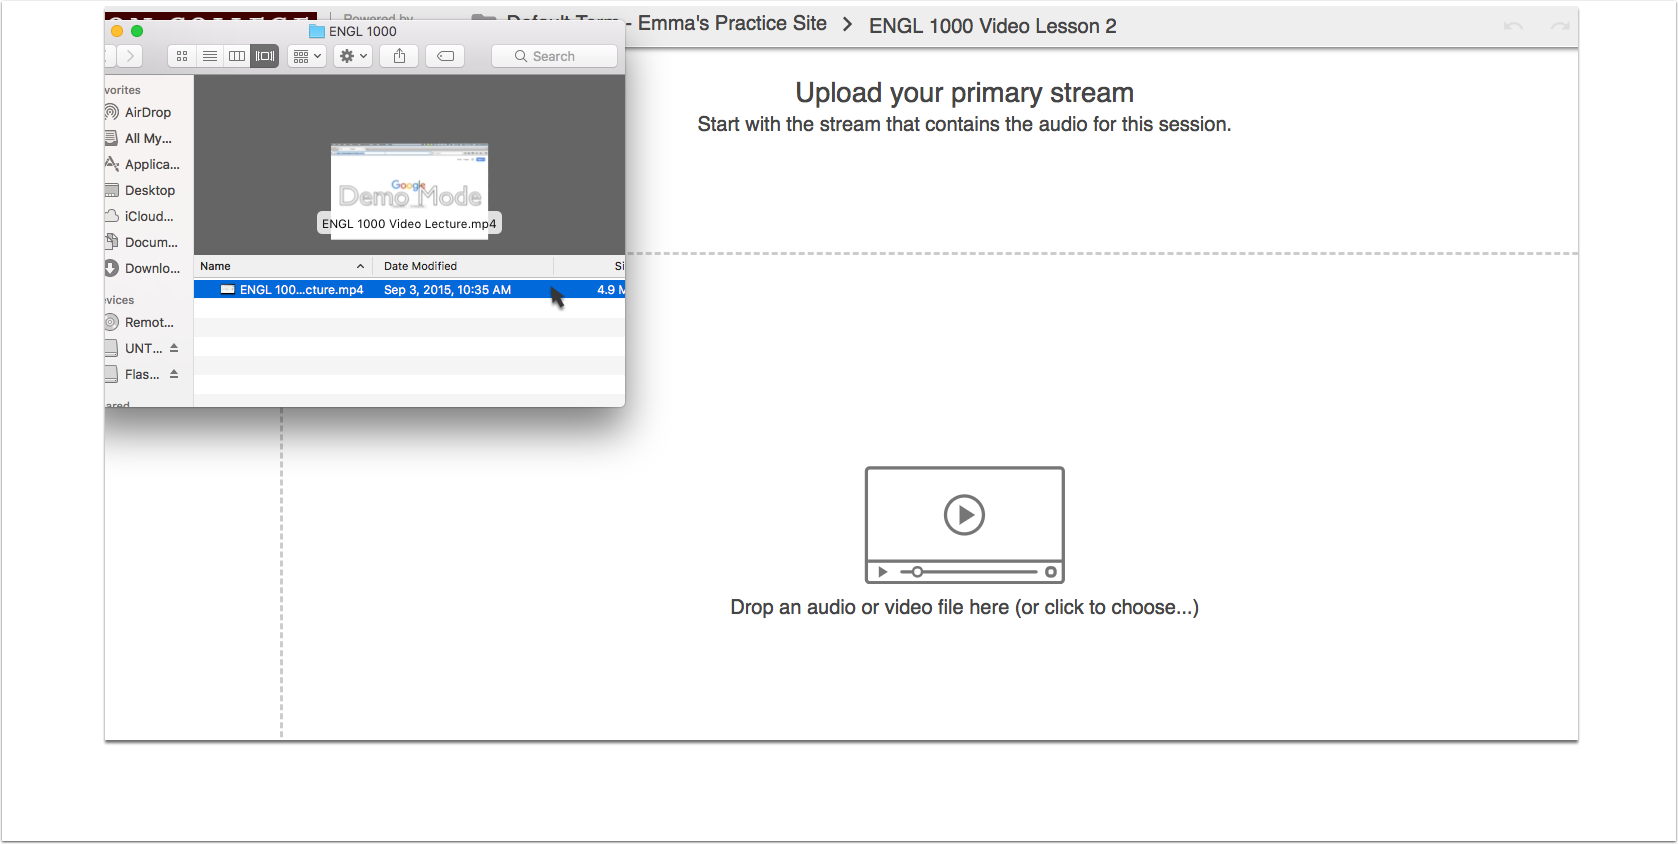
6. Next, you will prompted to add your primary source stream. This can be done by either:
- Clicking into the source field and choosing what file to upload, or
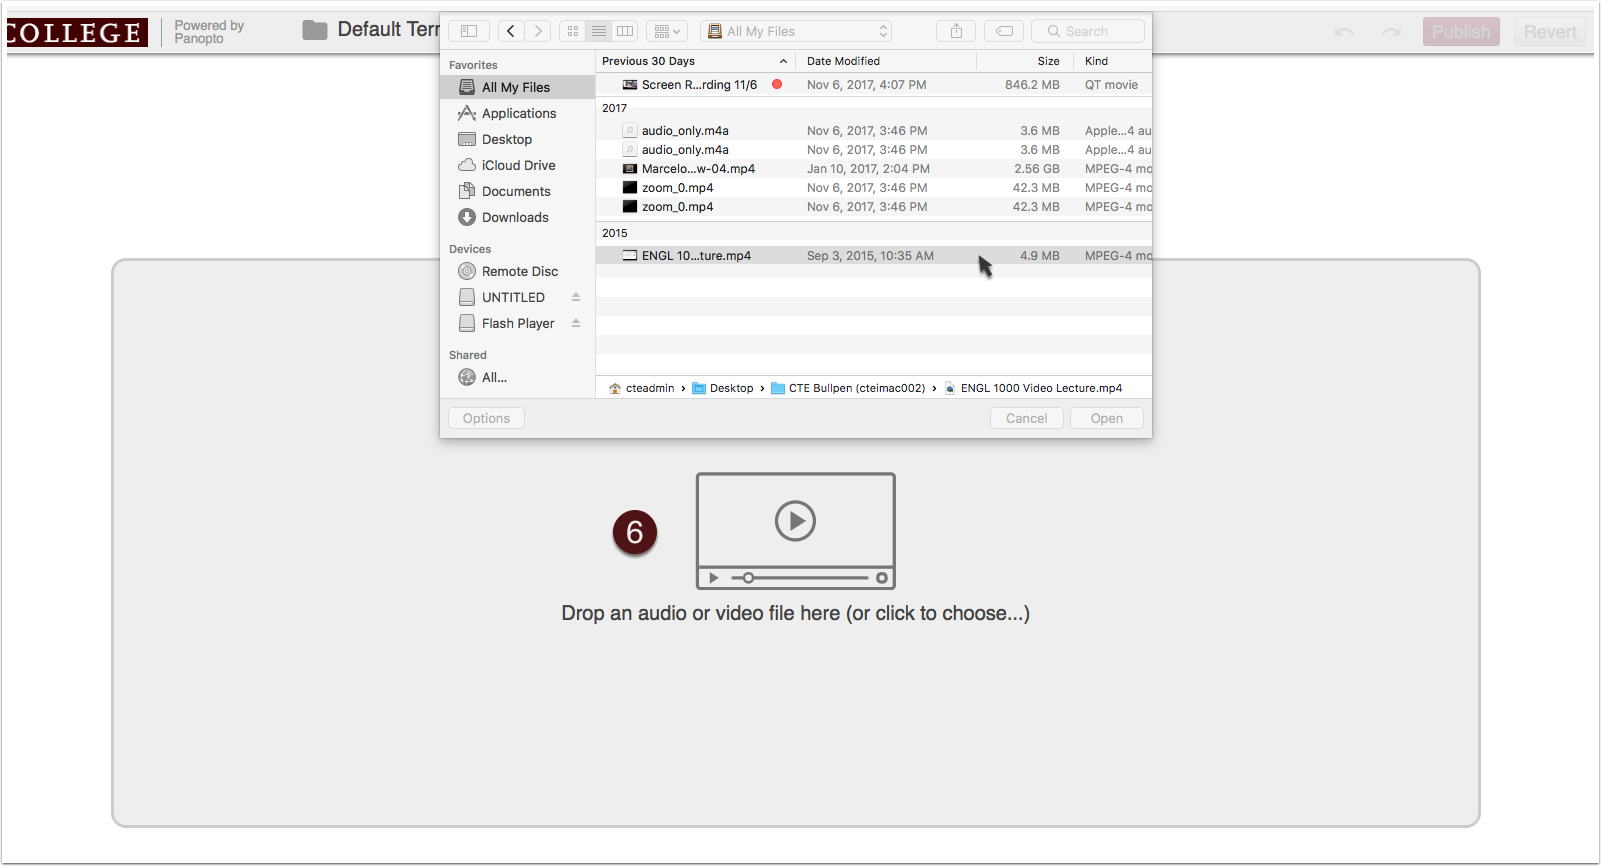

- Dropping your selected folders into the field

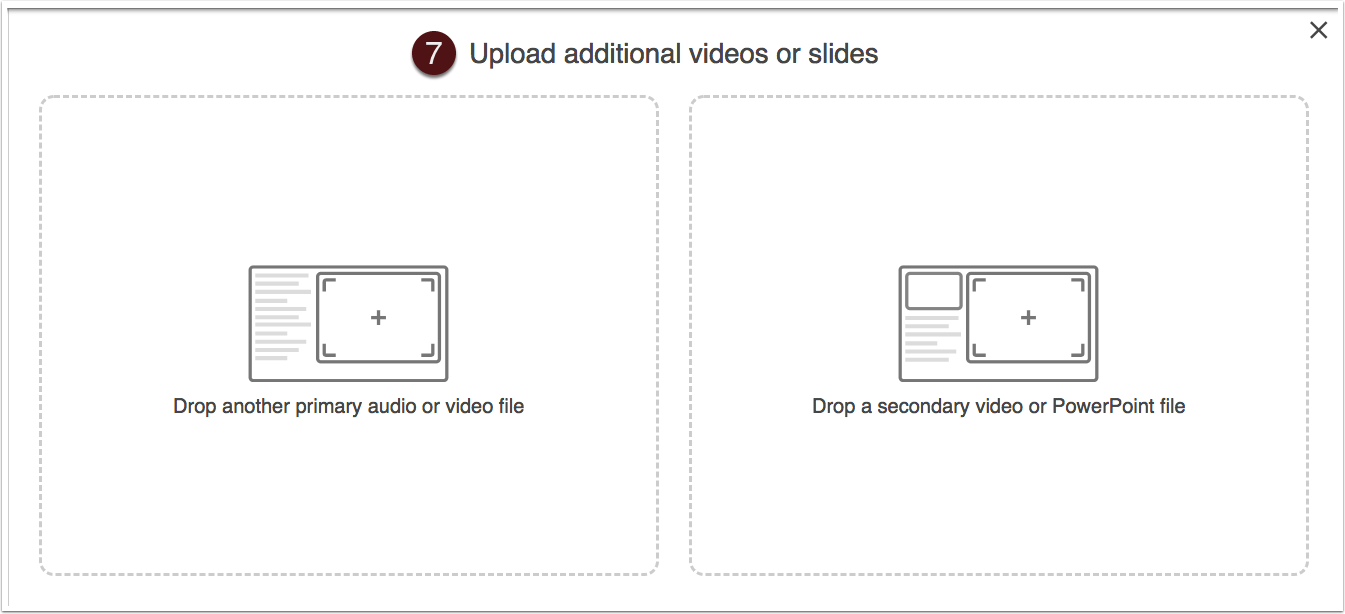
7. Once the primary stream is processed, you can add additional video streams or presentation slides.
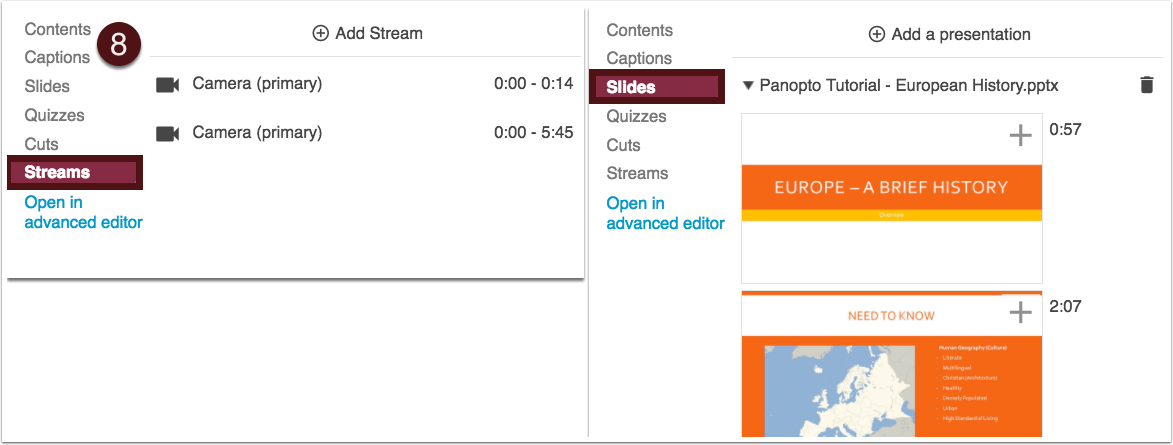
8. You can toggle between the “Slide” and “Streams” tabs to confirm your files have been uploaded.
You can now place slides, cut clips, make edits, and publish your recording. See Edit a Panopto Recording for more information.